
Best Practices for Access Point Placement
Access Points should form a closed area around the localization space
Your Access Point placement defines the localization area.
High localization performance cannot be ensured outside the localization area.
Access Points should be spaced as far apart as possible within the localization area
If your localization area is rectangular, place the Access Points in the corners where possible.
Maximize the height difference between Access Point positions. Without sufficient height variation, the system cannot accurately determine tag height.
Access Points should be placed evenly and symmetrically in the localization area
The placement of Access Points on each side of the localization area should be as similar as possible.
For a rectangular room, place 4 Access Points in the corners. If you want to add more Access Points, distribute them evenly.For example:
For 1 additional Access Point: Ceiling of the localization area
For 2 additional Access Points: Middle of the two longer sides of the localization area
For 3 additional Access Points: Ceiling and middle of the two longer sides of the localization area
For 4 additional Access Points: Middle of each side of the localization area
For 5 additional Access Points: Ceiling and middle of each side of the localization area
If the Access Points are not placed evenly and symmetrically across the localization area, localization performance will degrade.
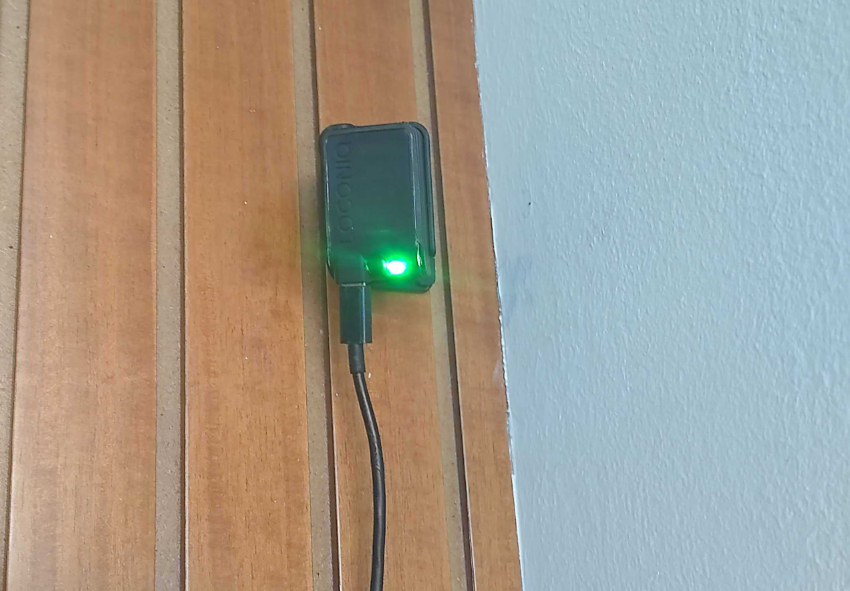
Access Point front should face the center of the localization area

The front of the Access Point is the side with the LOCONIQ inscription.
Choose Access Point positions where line of sight to the Tag is maintained
Avoid positions where the line of sight between Access Point and Tag is constantly blocked (e.g., glass, walls). Otherwise, high localization performance cannot be ensured.
It is not always possible to ensure line of sight between Access Points and Tags, but positions where the line of sight is frequently blocked by people, machines, etc. should be avoided.
A blocked line of sight through a human torso can be as critical as through glass or walls.
Placing the Access Points at a greater height can help mitigate this problem.
Do not place Access Points close to highly reflective surfaces
Highly reflective surfaces (metal, glass, etc.) may degrade localization performance.
It is not always possible to avoid such positions. Localization performance should still be acceptable.
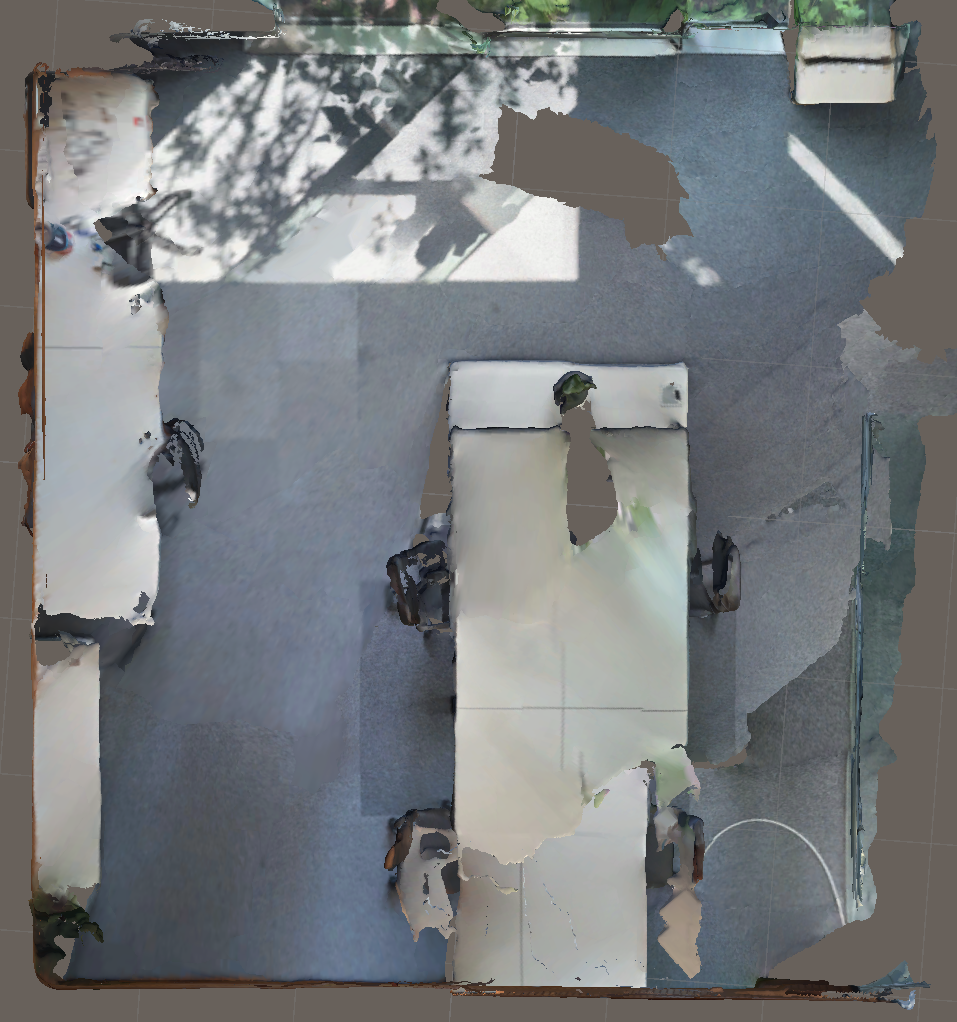
Example
Assume the following environment.
Your localization area is the entire room. You have 5 Access Points (APs). The following steps show how to apply the best practices above to achieve the highest localization accuracy.
Place the Access Points in the corners to maximize the distance between them and to form a closed area around the localization area. Greater spacing improves triangulation accuracy, which directly increases localization precision.
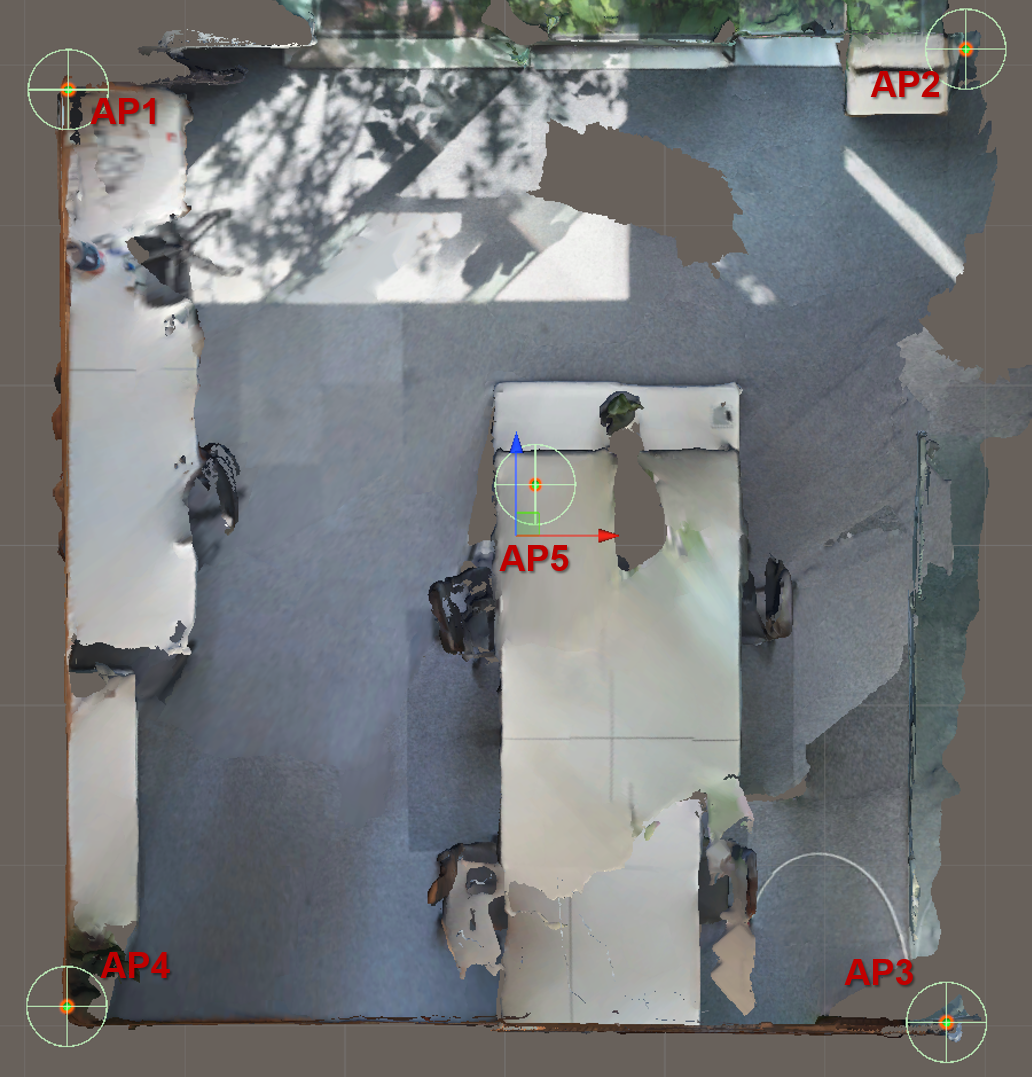
Place the 5th Access Point on the ceiling in the center of the localization area.
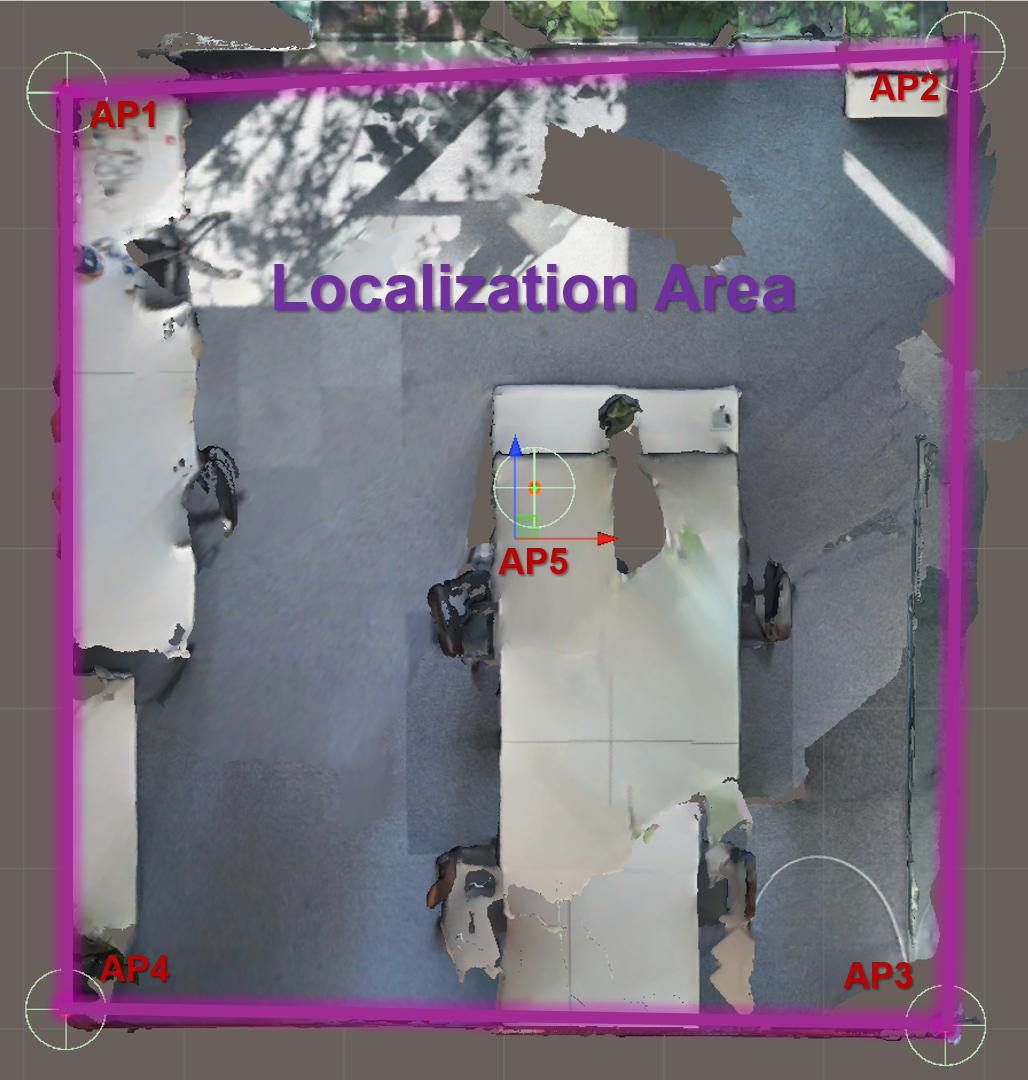
Your localization area is now defined within the area of your Access Point placement.
The Access Points are placed symmetrically and evenly around the localization area.
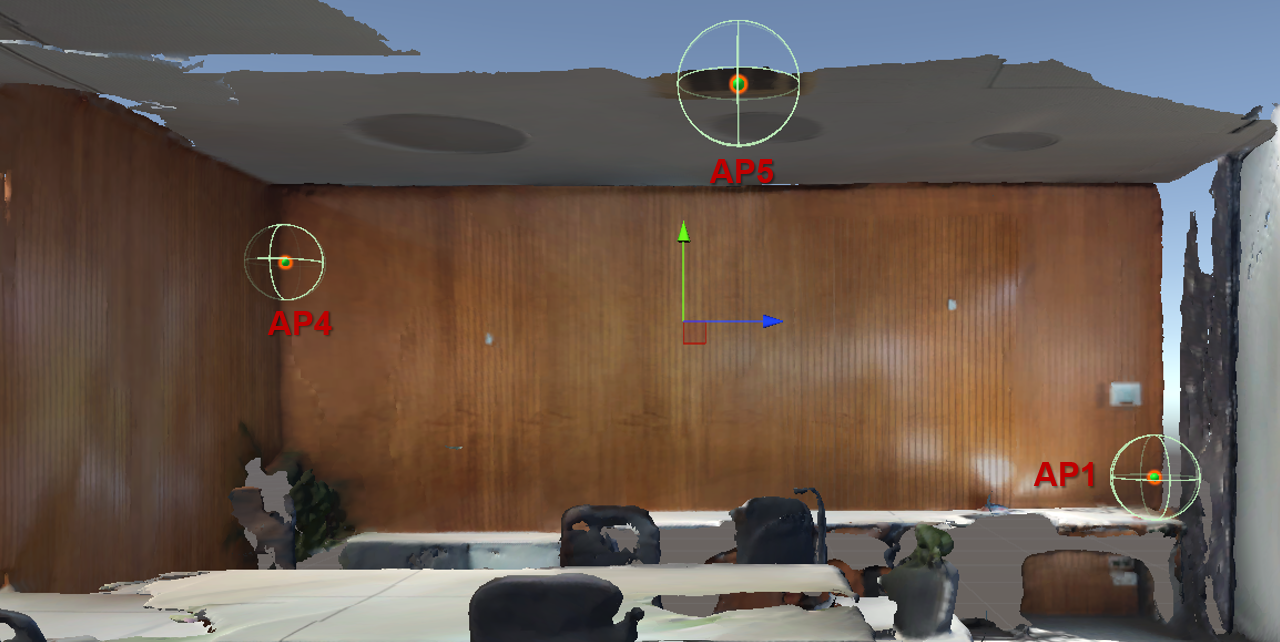
The Access Points are placed at different heights (as far apart as possible) to enable accurate vertical positioning of the Tag:
e.g.
- AP1: 105cm
- AP4: 230cm
- AP5: 310cm
This configuration does not maximize height separation because the room's ceiling height limits the range. However, it represents the best placement possible given the physical constraints.

The Access Points are directed towards the center of the localization area.
For example, Access Point 1:
The Access Point positions are not close to reflective surfaces.
The Access Points have line of sight to nearly the entire localization area (except behind tables, chairs, etc.).
The Access Points can lose line of sight to the Tag if a person is in the way. This effect is more pronounced when Access Points are placed at a low height.
Updated 5 months ago