
Upload and configure environment
Upload Environment
Once you've completed scanning the environment, the resulting FBX file is used to create a new environment in the app.
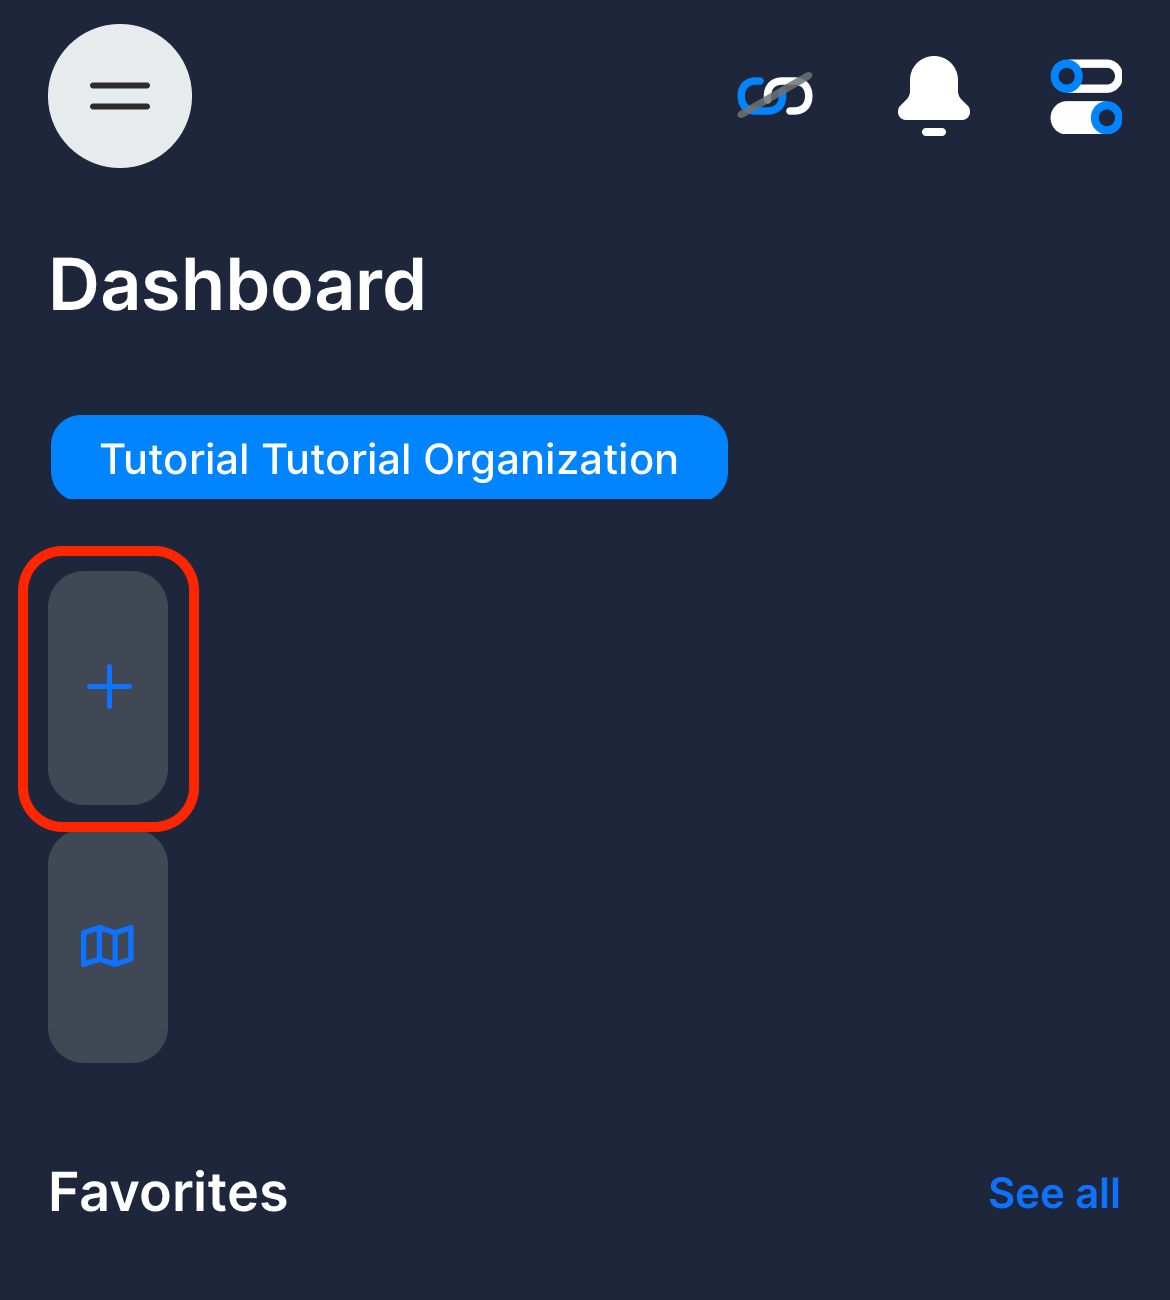
Log in with your credentials and click on the + button.
Click on New Environment in the appearing screen.
Enter the name of the environment and select the 3D model (FBX file) on your local device. You can leave the address field empty. Once all information is entered, click Create. Depending on the speed of your Internet connection, it may take a minute or two to create the environment.
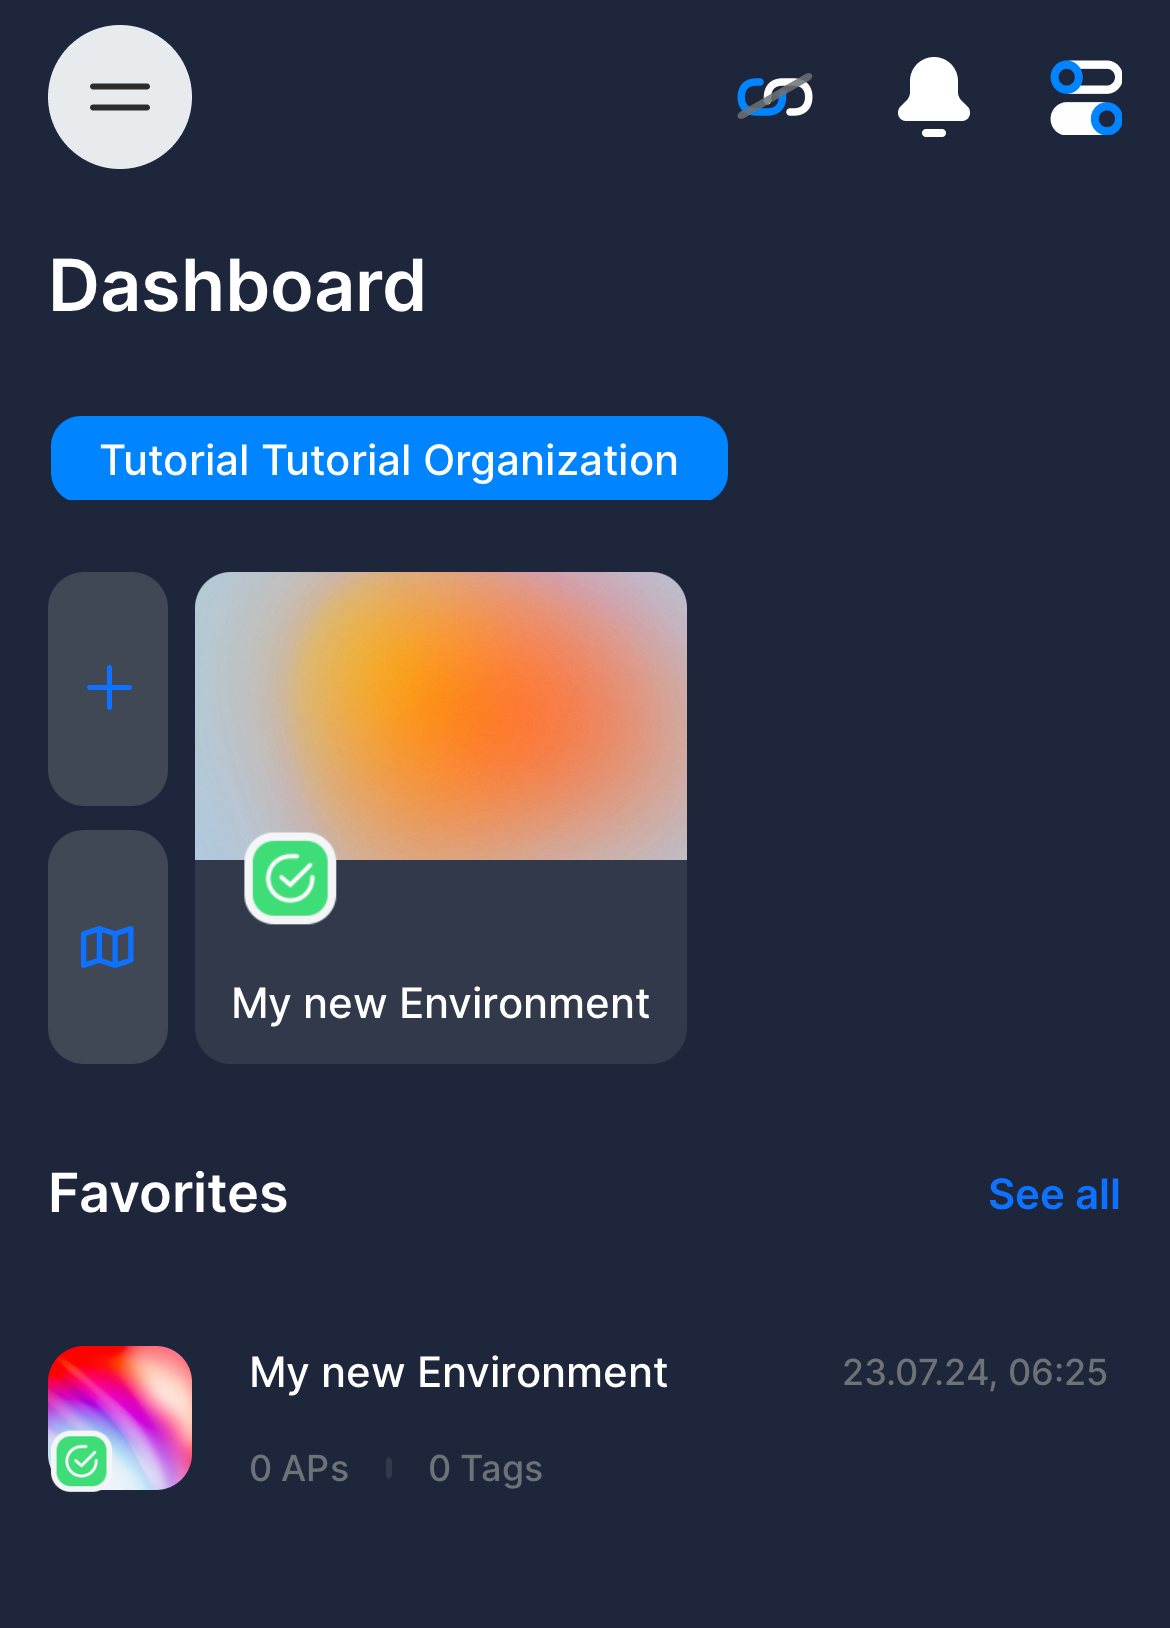
Once it has been completed, you can click on the newly created environment to open the 3D view.
Place Access Points
Please consider the following points when placing the Access Points
- See here to find out about best practises on physically placing them
- The Access Point must be connected to a power supply
- The Locis have an assigned role. Take the Loci with the role Access Point. You can see the role on the bottom side of the housing.
- The Access Point should be mounted so that the USB connector faces downwards.
There are three ways to enter the edit mode of Access Points.
Via NFC Scan
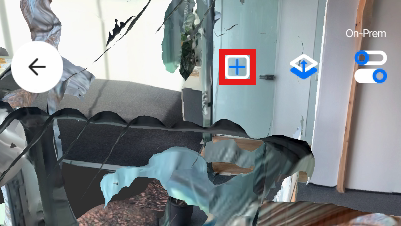
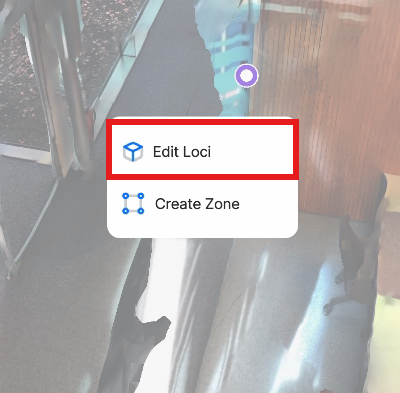
Tap the + icon at the top of the screen and select Edit Loci.
Tap the Access Point you want to edit to the back of your Phone.
Via Icon
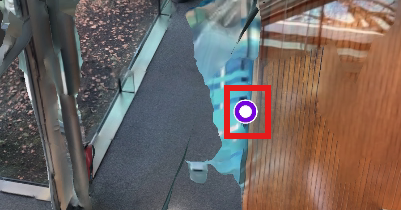
If an Access Point is already placed you can also enter edit mode by tapping the respective icon. Now you can change the position of the existing Access Point.
Via search
Tap the search bar at the bottom of the screen and search for the Loci you want to edit. Tap the list entry to enter edit mode. You can rename the Locis to easier find them via the search function.

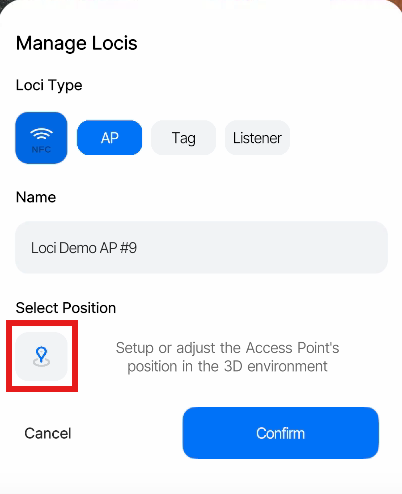
Setting the Position
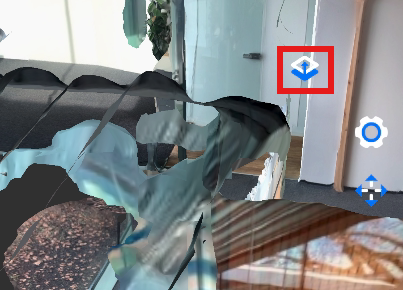
Tap the Select Position icon to enter Transform Mode
Tap and hold the position where you want to place the Access Point.
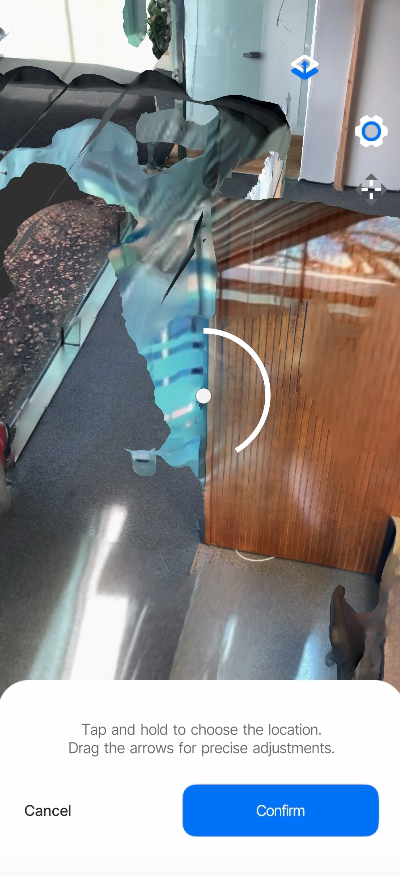
You can then readjust the position by either tapping and holding again or alternatively by dragging the Position Gizmo Arrows. The Axes of the Position Gizmo are always aligned to the surface you placed the Access Point on.
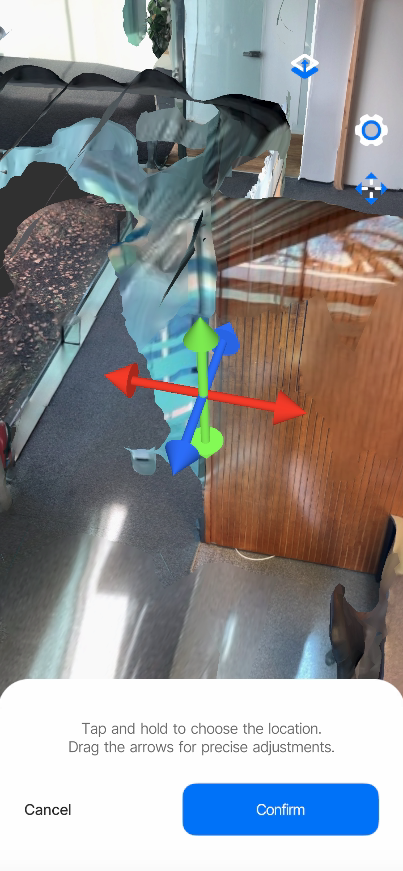
If you want to disable the Position Gizmo Arrows you can do so by tapping the Position Expert Mode Icon.
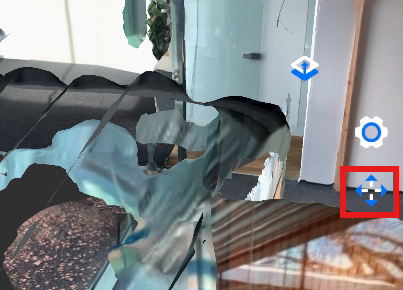
You can also switch to a top down perspective by pressing the Perspective Toggle Icon
Tap Confirm to stage return to edit with your new position selection and Cancel to return while discarding your new position.
You can rename the Access Point to find it via search later and click confirm to safe your edit
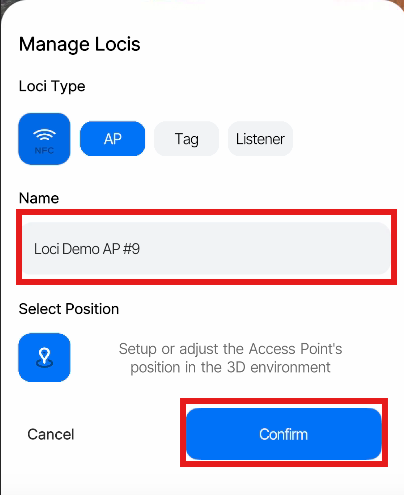
The Position is only saved if you confirm the edit. Cancelling at this point will result in a reset to the state the Access Point was in before initializing the edit.
Updated 5 months ago