
Edit Origin Position and Orientation
The Origin is the (0, 0, 0) point of the coordinate system as well as the Orientation of the horizontal x and y axes.
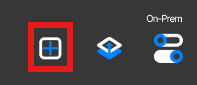
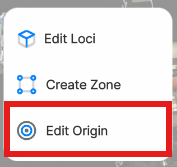
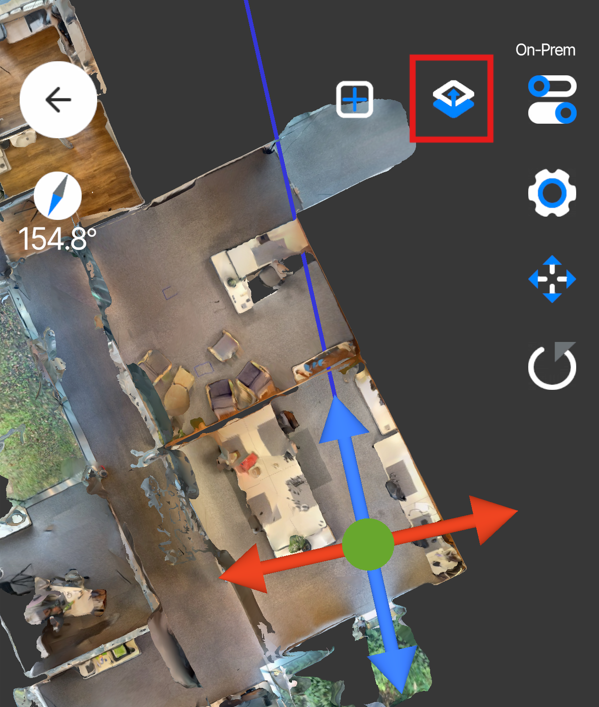
To edit the origin, tap the + icon on the main screen, then tap Edit Origin.
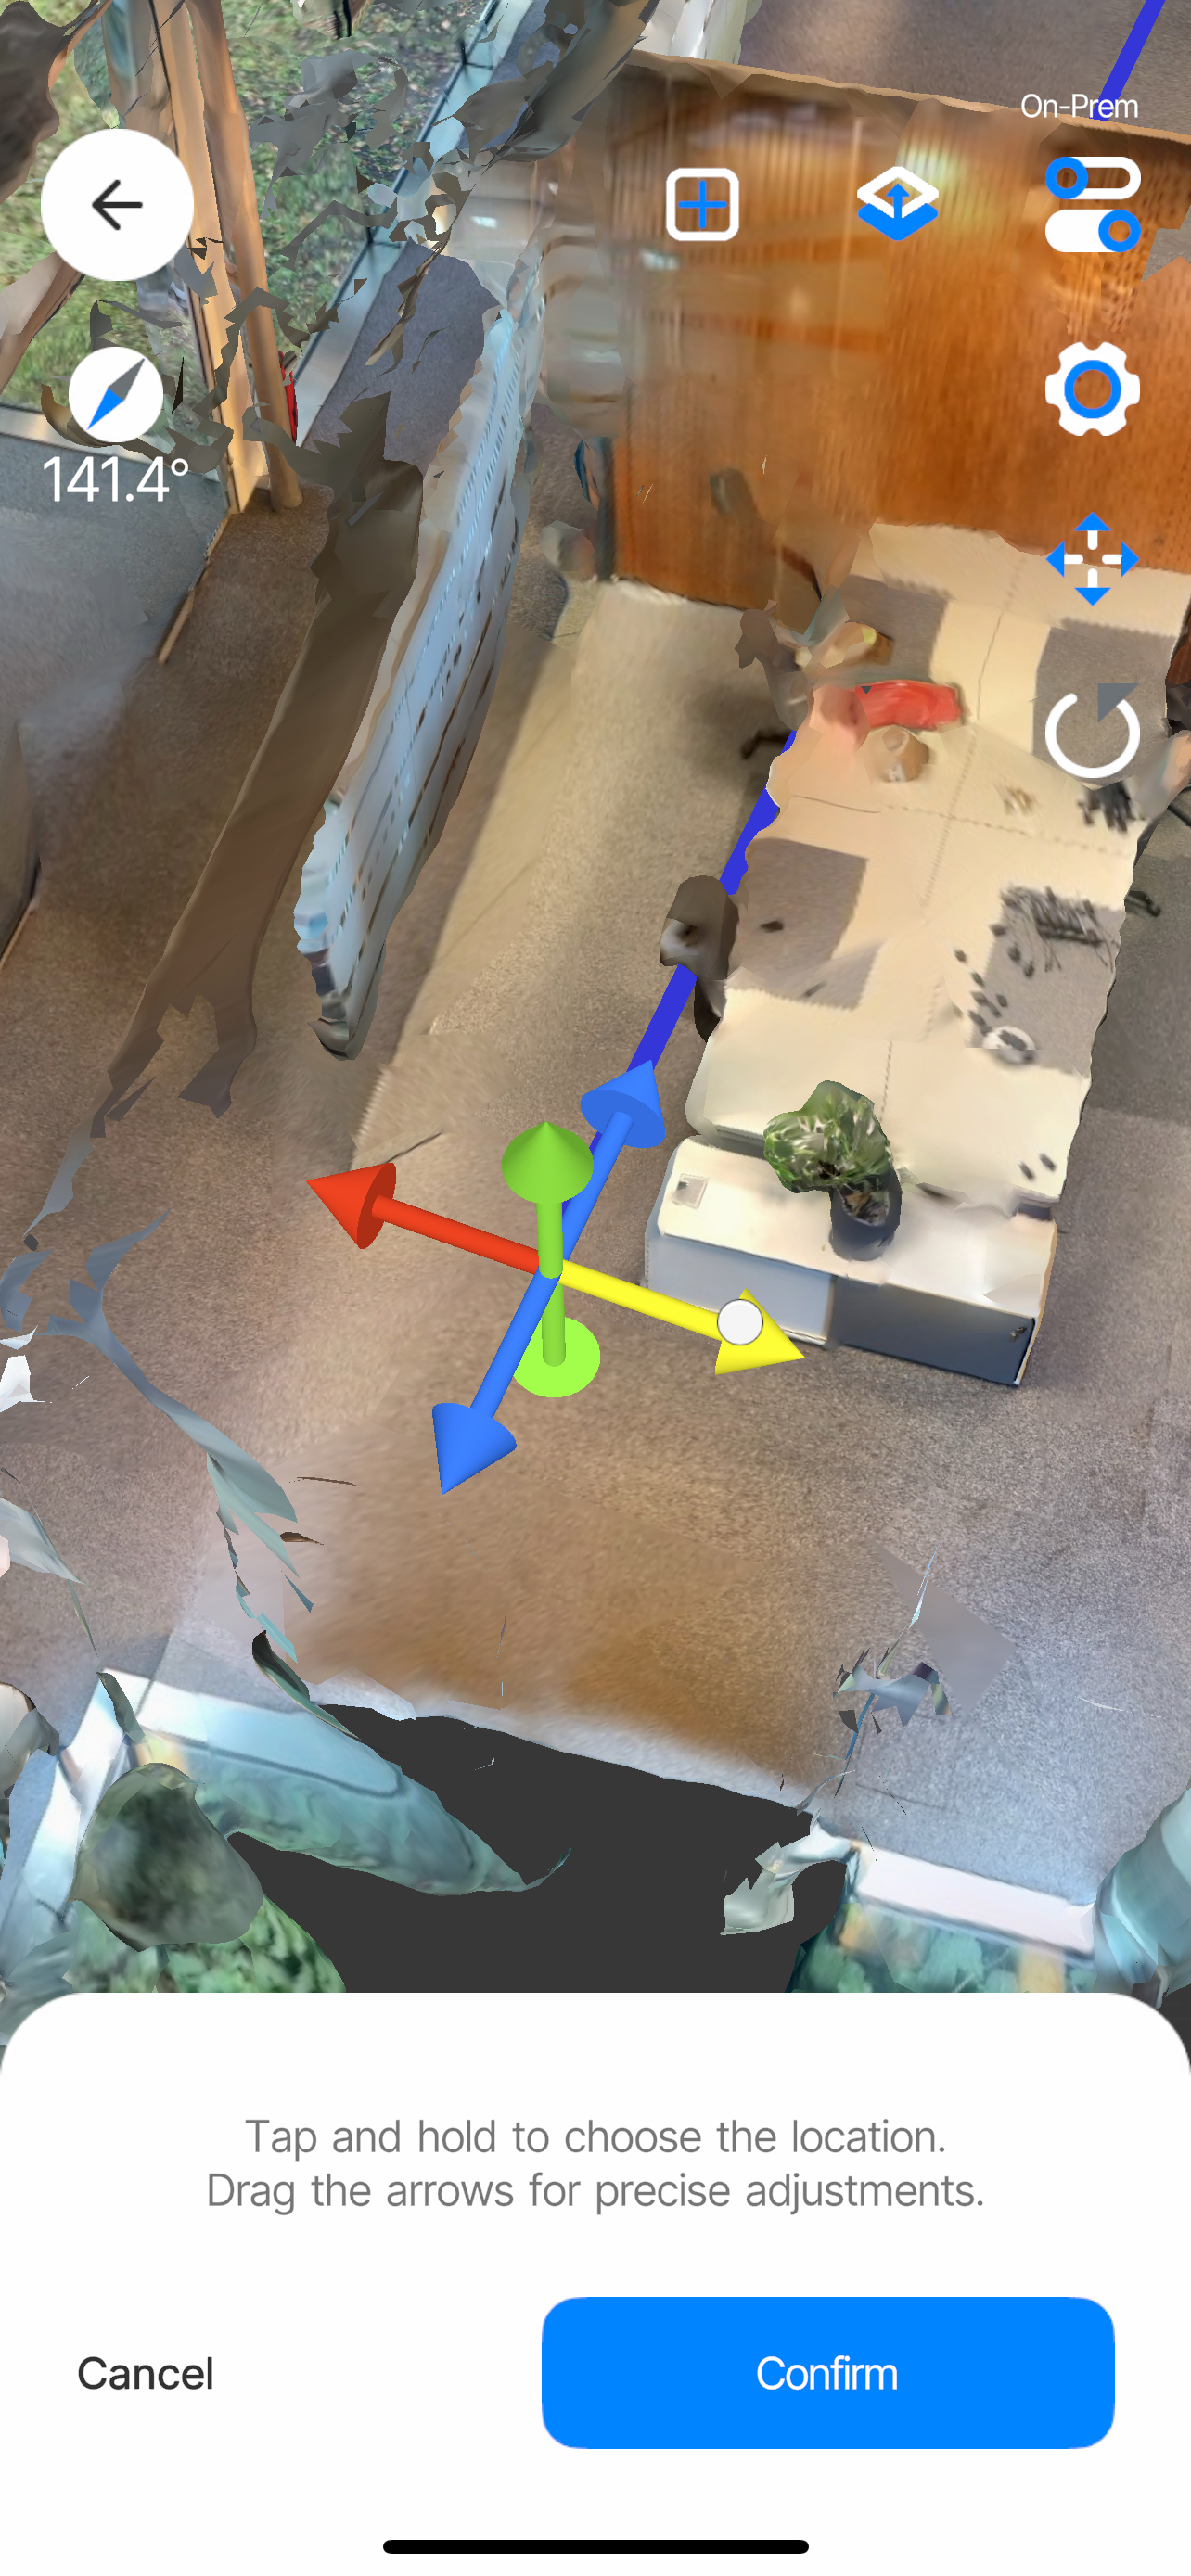
Set a new origin position by tapping and holding anywhere within the 3D model, then dragging the Gizmos to adjust it.

Adjust Origin Orientation
To adjust the orientation of the origin, tap the Rotate expert mode icon to enable the rotation Gizmo.
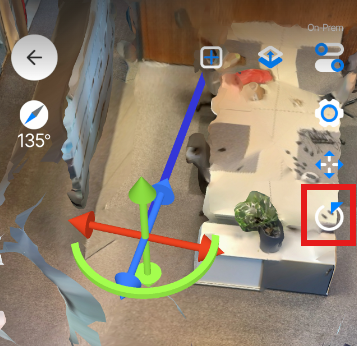
Drag the gizmo to rotate the origin.
For environments using the AR Navigation app, align the y-axis (indicated by the blue line) with magnetic north. Use the compass displayed in the top left corner of your screen to find the north direction of your environment, then drag the rotation gizmo to align your model with it as closely as possible.
To make this easier, consider using the Orthographic view. Toggle between the Orbital and Orthographic camera by tapping the Perspective icon on the top right.
Switch to orthographic mode
Turn yourself and the phone to find magnetic north using the compass in the top left.
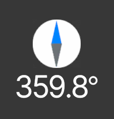
find magnetic north
Finally, rotate the entire model with two fingers to align the blue needle of the compass with the blue line in the model. Both must point in the same direction.
Next, use the rotation gizmo (green circle) to align the model with your real-life point-of-view. Thus, the blue line in the model should point in the same direction as your phone does in real life.
Align blue Y-Axis to magnetic north
Confirm your changes and you should be ready to start the AR-Demo
Updated 5 months ago